Welcome to the JobyDesk guide on job creation. Getting a new job into your system is quick, flexible, and designed to fit naturally into your daily workflow.
To make things as easy as possible, JobyDesk allows you to initiate a new job from several different areas in your workspace, including:
- The global + New button
- The main Jobs dashboard
- Your Schedule or Calendar view
- Directly inside a Customer’s profile
For this walkthrough, we will focus on the most common method:
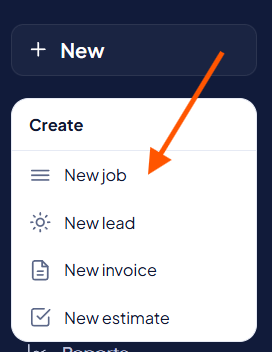
using the + New button on your main sidebar.
Creating a New Job
1. Start the Job Form
Navigate to the left-hand menu, click + New, and select Job from the dropdown.
2. Add Customer Information
Identify who the work is for. You can easily search for an existing client in your database or manually type in the details for a brand-new customer:

- Customer Name
- Phone Number
- Email Address
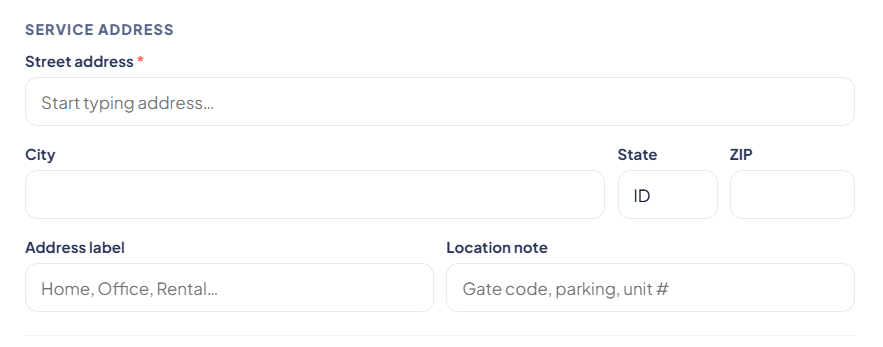
3. Confirm the Service Location
Pinpoint where your technicians need to go by entering the specific service address.
4. Define the Work Details
Give your team the context they need to get the job done right:
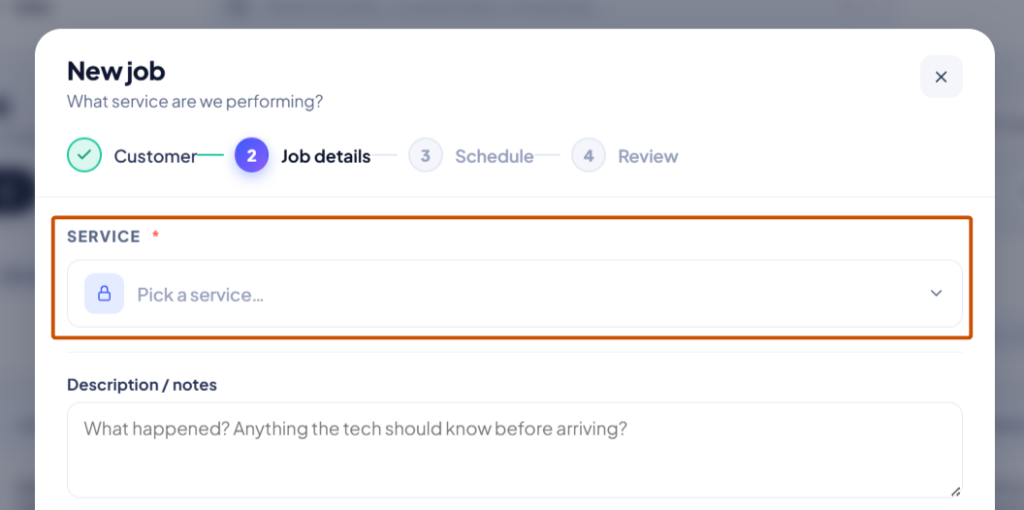
- Job/Service Type: Select a predefined template (like Car Lockout Response) to instantly load your standard pricing, parts, and checklists.
- Description: Leave a brief note explaining the specific issue or customer request.
5. Schedule and Assign
Set the appointment details so your team knows exactly when to arrive:
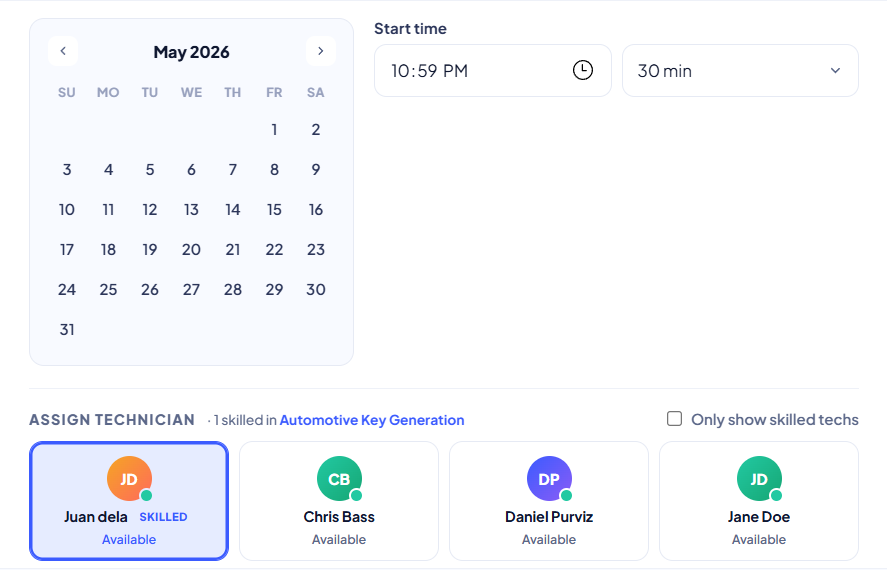
- Time Window: Pick the scheduled date and the start/end times.
- Team Members: Assign the job to the appropriate, available technician.
6. Finalize the Job
Click the Create Job button at the bottom of your screen.
That’s it! Your job is now active and on the books. You can track its progress, update details, or check its status anytime from your Jobs page or Schedule.
Related Links: